
Leggings Tech Pack Checklist: What to Prepare Before Sampling
By YogaSewReviewed by ChengLei Shao
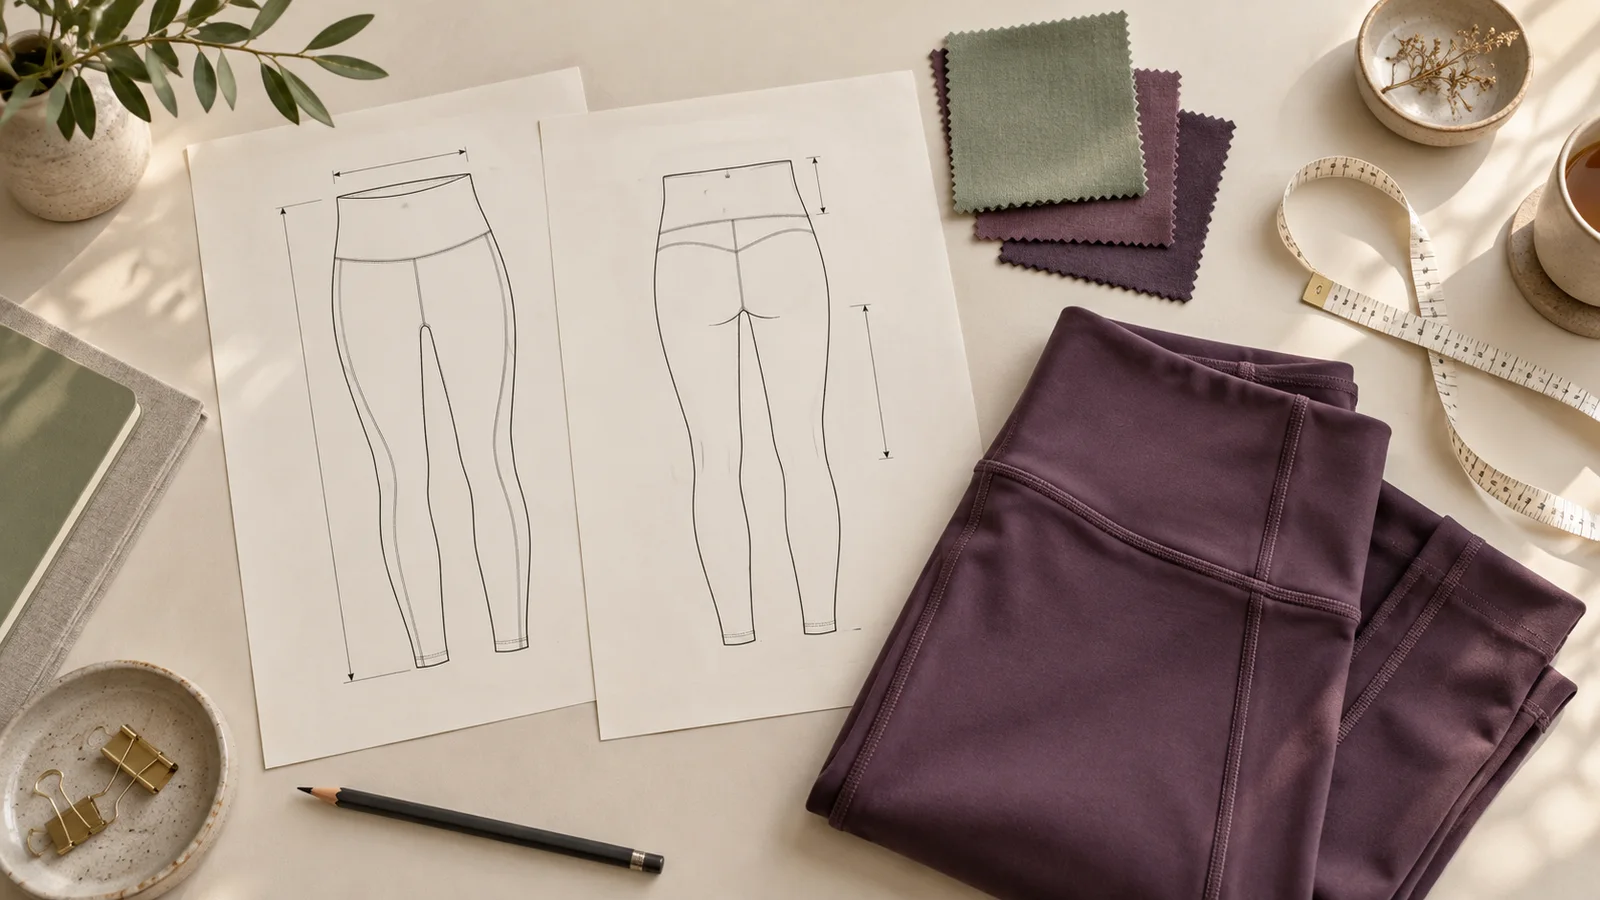
Cover: AI-generated editorial illustration, not a production specification.
A useful leggings tech pack connects your design to measurable sample requirements: drawings, materials, garment dimensions, construction details and revision notes. Give each requirement a clear status so the manufacturer can distinguish an approved decision from a question you still need help answering.
For a yoga brand preparing its first style, the difficult part is often turning “higher waist,” “softer feel” or “a pocket that holds my phone” into instructions someone else can follow. This guide helps you prepare that discussion. It is a working checklist, not a ready-to-cut pattern or a universal leggings size chart.
If you are still choosing a construction route, start with our seamless vs cut-and-sew leggings guide. Then use the steps below to assemble the brief for your particular design.
Key takeaways
- Identify the style and revision on every document you send.
- Separate body measurements, finished garment measurements and fit comments.
- Define how each measurement is taken; agree tolerances and grading with the development team.
- Mark materials and details as proposed, pending or approved instead of filling gaps with guesses.
Jump to the measurement checklist, sample feedback example or brief to copy.
1. Identify the style and its intended use
Start with one named style and one current revision. Add the date, proposed size range, sample size, intended activity and the person who can approve changes. A collection can share branding information, but each distinct legging needs its own identifiable specification.
Techpacker's guide to tech packs describes the document as a combination of technical drawings, materials, measurement specifications and construction information. For this checklist, keep a short decision record alongside those sections: what is fixed, what is open, and what must be checked on a sample.
Write the intended use in ordinary language. For example, “full-length leggings for studio yoga with a soft waist feel” gives the discussion a direction. Label this as a design intention, not a tested performance claim. If you have a reference garment, explain which features you want to keep and which you want to change.
For custom yoga wear development, a useful first page also includes your planned order quantity by style and color, target market and desired launch date. These are planning inputs. Minimums and timing need confirmation after the specification is reviewed.
Before moving on: can someone identify this exact style and revision without opening your email thread?
2. Draw the details a reference photo leaves out
Show front and back views, then add close-ups wherever the design is unclear. Mark the waist, gusset, seams, pocket openings, hems and artwork positions. Use a side or inside view when it explains something the other views cannot show.
For a legging with a phone pocket, for example, specify which side carries it, its opening direction and the object it needs to hold. A photo of a phone partly inside a pocket does not tell the developer how deep the pocket is or where its lowest point should sit. Record those decisions in the drawing and measurement sheet together.
Make these three areas explicit:
- Waistband: desired height and shape, visible seam positions, and any internal elastic or lining under consideration.
- Crotch and gusset: front seam preference, proposed gusset outline and any fit concern the sample needs to address.
- Pockets and panels: position, opening, attachment and the relationship to nearby seams.
You do not need to invent a stitch specification if you lack the technical knowledge. State the intended result and ask for a construction proposal to review. Coats' Soft and Secure Seams guidance treats stretch, strength, appearance, bulk and softness as connected seam considerations. A seam name alone does not settle all of them.
For a seamless activewear design, describe knitted zones and finishing details that need discussion. Do not transfer a cut-and-sew panel drawing unchanged and assume it defines the knitting setup.
Before moving on: can the developer see the inside details as well as the outside appearance?
3. Define measurements so two people can repeat them
A measurement value is useful only when its start point, end point and measuring condition are clear. Put a matching reference letter on the drawing and the measurement sheet. State the units, whether the garment is laid flat or measured around, and whether it is relaxed or extended.
Keep the target customer's body measurements separate from finished garment dimensions. Use a fit description to connect the two; do not copy a retail body size chart directly into a garment specification.
Techpacker's garment spec sheet guide explains the role of points of measure and tolerance in documenting garment dimensions. The table below is an editorial checklist of questions to resolve for leggings, not a prescribed measurement method or set of production values.
| Measurement area | Define in your own specification | Clarification to request |
|---|---|---|
| Waist | Exact level, flat width or circumference, relaxed or extended | If extended, how will the extension be applied and recorded? |
| Hip | Measurement level and reference point on the garment | Is the location shown on the drawing? |
| Front and back rise | Separate start and end points, with the measuring path | Does the value include the waistband? |
| Inseam | Crotch reference point and path to the finished hem | How is the start point defined with this gusset? |
| Thigh and knee | Distance from a named reference point | Will the location stay consistent across sizes? |
| Leg opening | Finished opening measured flat or around | Is the garment relaxed during measurement? |
| Waistband height | Front, side or back location as needed | Is the value for the finished waistband? |
| Pocket opening and depth | Named edges and the direction of measurement | Can the proposed pocket hold the intended object during movement? |
Add a tolerance for each agreed point of measure. Tolerance is the accepted variation around a specified value; it is separate from the intended difference between sizes. Avoid borrowing one tolerance for every part of a garment simply because it appears in a template.
Grading defines how the pattern changes across the size range. Techpacker's pattern grading guide distinguishes that process from creating the original pattern. Agree the grading approach with the developer, then plan which sizes need sample review. Approving the base size does not document the fit of every other size.
Before moving on: ask another person to follow your measurement diagram. If you would use different reference points, clarify the sheet before comparing values.
4. Build a material list with approval status
Give each material or trim its own entry and link it to a location on the garment. A bill of materials should make it possible to tell which component a comment refers to. Techpacker's BOM guide explains how fabrics and trims are recorded as distinct components.
For leggings, review the main fabric, any pocket or gusset material, elastic if used, thread, labels and applied artwork. Record a supplier or article reference if you have one. Add composition, construction, weight and color references when known; leave an explicit question when they are still being sourced.
For example, “main fabric: candidate A, physical swatch supplied, color pending” is more useful than silently treating a photograph as an approved material. Keep a swatch identifier in the pack so feedback about handle or appearance points to the same piece of fabric.
Use the fabric development discussion to resolve open requirements. A fiber blend or GSM figure alone does not document the finished garment's coverage, recovery or fit. Describe what needs assessment and record the selected material separately from the desired result.
For color, agree the reference and the approval process. A screen image is useful for direction, but your brief should say which physical swatch or agreed color reference controls the decision.
Before moving on: can you tell which materials are approved and which still require a proposal?
5. Specify artwork and sample checks
Locate artwork from a named point on the garment, with its size, orientation and file reference. “Logo on the back” leaves several decisions open. Show whether it belongs on the waistband or body, how it aligns, and whether the position changes with size.
Record label placement and the intended label content separately. Your private-label brief should distinguish branding choices from garment construction. Confirm the final label copy for your target market before approving it for production.
Next, turn performance language into a review plan. “Premium,” “supportive” and “squat-proof” do not tell two reviewers what to assess. For an internal sample review, write down the garment color and size, intended wearer fit, movements and viewing conditions. Record what passed, what failed and what needs a different assessment. This is a practical review record, not a substitute for a laboratory test.
Intertek's high-performance testing services include properties such as stretch and recovery and quick drying. Where a product claim needs test evidence, agree the method, sample condition and acceptance requirement with the relevant specialist before using the claim. This does not imply YogaSew certification or testing by Intertek.
Use our sampling process page to frame the next discussion. Ask which material and construction decisions must be settled before a meaningful sample can be made.
6. Turn sample feedback into a controlled revision
Tie every comment to the sample you actually reviewed. Record the style, sample identifier, size, material reference and tech pack revision. Keep an approved feature visible in the record so a later correction does not accidentally reopen it.
Here is a hypothetical feedback example. It illustrates a way to communicate, not a tested YogaSew garment or a recommended pattern correction.
| Vague comment | More useful sample feedback |
|---|---|
| “The waist feels wrong.” | “On sample A, the back waist slips during the agreed movement check. Front waist appearance is acceptable. Please review the cause and propose a change before updating the pattern.” |
| “Make the pocket better.” | “The reference phone protrudes above the opening on sample A. Please confirm a proposed depth and placement, then repeat the pocket check.” |
| “Use softer fabric.” | “Compare candidate B with the supplied handle reference. Keep color approval pending and flag any effect on the current fit.” |
Separate the observation from the proposed correction. A buyer can accurately report where a sample pulls or slips without knowing which pattern or material change will solve it. Let the developer explain the proposed correction, then record the agreed action and what must be checked again.
Before sending a revision, confirm that the drawing, material list and measurement sheet all describe the same version. Archive the previous issue, identify the new one clearly and ask the recipient to acknowledge which version they will use.
FAQ
Can I contact a leggings manufacturer without a finished tech pack?
Yes. YogaSew accepts a reference or tech pack as the starting point for a development discussion. Send what you have and identify missing decisions. A clear initial brief can start the conversation; it does not mean the style is ready for production or that every proposed detail is feasible.
Is a size chart the same as a tech pack?
No. A size chart covers sizing information. A tech pack also needs the design, materials, construction, artwork and current decisions. Label a chart clearly as body measurements or finished garment measurements so it is not used for the wrong purpose.
Can I reuse a cut-and-sew tech pack for seamless leggings?
Reuse the product intention, branding and fit goals as a starting point, then review the construction and material sections with the developer. Knitted zones and finishing details need their own explanation. Our construction comparison can help you prepare those questions.
Does a completed tech pack guarantee the first sample will be approved?
No. The pack records the current requirements and makes feedback traceable. The sample still needs review against the agreed fit, material and construction criteria. Update the pack when decisions change; a completed document is not evidence that the garment has passed those checks.
Send a clear first brief to YogaSew
Use this outline in your inquiry. Write “to discuss” where a decision is open instead of guessing a specification.
Style and revision: your style name, code and current date.
Design: front/back references, intended activity and features to change.
Fit: target customer, proposed size range, sample size and measurement references.
Materials: physical references or known specifications, preferred colors and open questions.
Details: waistband, gusset, pockets, seams, artwork and labels.
Planning: intended quantities by style/color, target market and desired launch date.
Next decision: the construction, sourcing or sampling question you want to resolve first.
Send your leggings brief to YogaSew to discuss the next development step. Include the current revision and the points you want reviewed. Minimums, sample timing and production arrangements are confirmed after the specification review.
Written by YogaSew, the yoga wear manufacturing brand of Dongguan Jiashun Clothing Co., Ltd.. Technical sources checked on October 9, 2026. Examples and checklists are editorial planning guidance, not approved production specifications.
About the reviewer
ChengLei Shao is the Brand Manager at YogaSew. ChengLei reviews the brand’s articles before publication.